
Sheds & storage / Practical planning guide
How to Organize a Small Garden Shed
Give everyday garden tools a home, make shelves easy to use and keep a clear route to the things you need. Plan around your belongings before filling the shed with storage.
Researched October 5, 2026 · Organization guidance with published sources · No product testing.
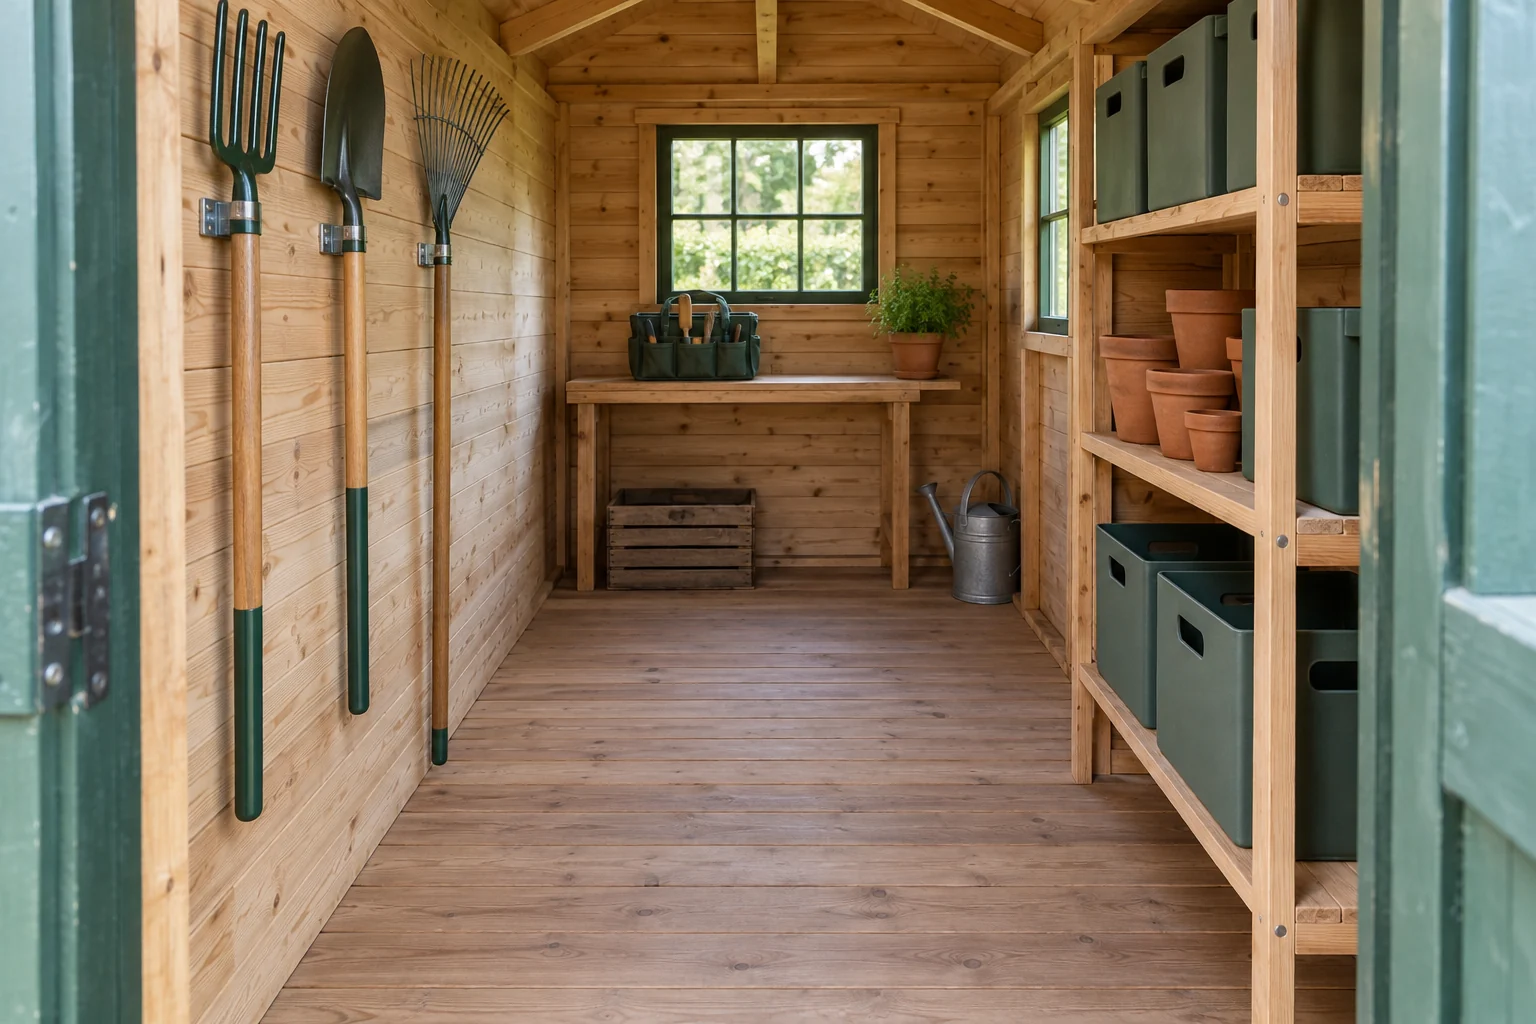
1. Sort the contents before buying organizers
Work through one group at a time: long-handled tools, small hand tools, pots, watering equipment and seasonal belongings. Set aside damaged items and things that belong elsewhere. Keep tools needed for the current job available rather than emptying the whole shed into an unmanageable pile.
Write down what you are keeping and how often you use it. A daily watering can deserves a convenient position; spare pots can sit farther back. Separate unfinished projects from ready-to-use equipment so that neither disappears into general storage.
Check the shed itself before arranging contents. Look for leaks, persistent dampness, damaged shelving and doors that do not operate properly. Storage containers cannot remedy a wet building. Resolve problems appropriately before placing belongings where they may be damaged.
2. Test the route with the largest item
Measure the usable interior, including door movement, windows and fixed obstacles. Then try the actual journey: bring your largest routinely used item through the doorway, turn it where necessary and place it in its proposed position. Remember the space you need to stand while opening a container.
Use cardboard outlines for proposed shelves or a work surface. Test them with the door open and with the items you expect to carry. If two shelves leave a route that is difficult to use, start with storage along one wall. A smaller arrangement that works is more useful than a filled room.
CCOHS recommends allowing enough aisle space for people and equipment, grouping frequently accessed materials and considering a convenient access height. These workplace principles help frame this home-storage plan; they do not establish a universal shed clearance. Source: CCOHS storage layouts.
| Belongings | Possible home | Check before choosing |
|---|---|---|
| Long-handled tools | Separate compatible holders | Support, accessory fit and room to lift each tool free |
| Everyday hand tools | A portable tote or shallow tray | Visible contents and protected sharp edges |
| Pots and spare supplies | Shallow shelving | Actual depth, weight limits and easy retrieval |
| Large seasonal equipment | A reserved floor position | Removal route and the equipment's storage instructions |
3. Give long tools separate positions
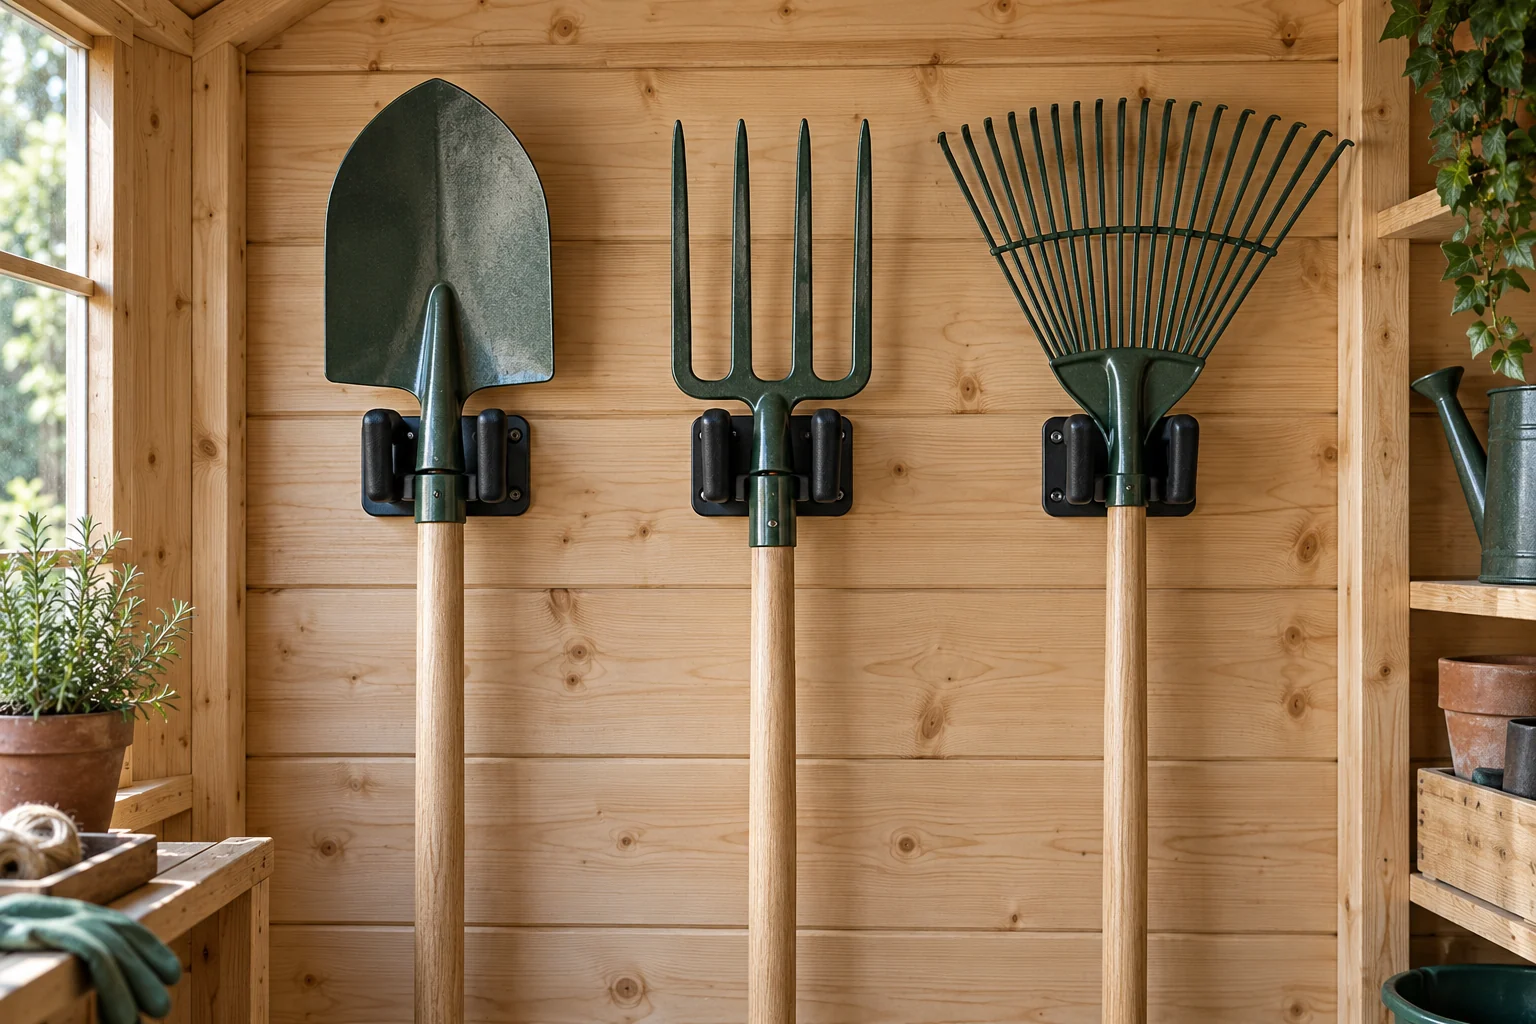
Group tools by use, then leave a distinct position for each. Test retrieval with the actual tool: can you release it from its holder without snagging a nearby handle or standing in the doorway? Keep projecting or sharp parts away from the route through the shed and use suitable protection where needed.
Choose holders compatible with the tools and follow their mounting instructions and stated limits. Thin shed cladding is not automatically a suitable support. The wall construction, fixing requirements and load all matter; obtain appropriate help if the support is uncertain. The illustration shows a concept, not a fixing method.
For tools used together, keep their positions near one another. A simple grouping for digging, tidying and watering makes returning them easier. Our garden tool organization guide explores these everyday groups in more detail.
4. Make shelf depth work for you
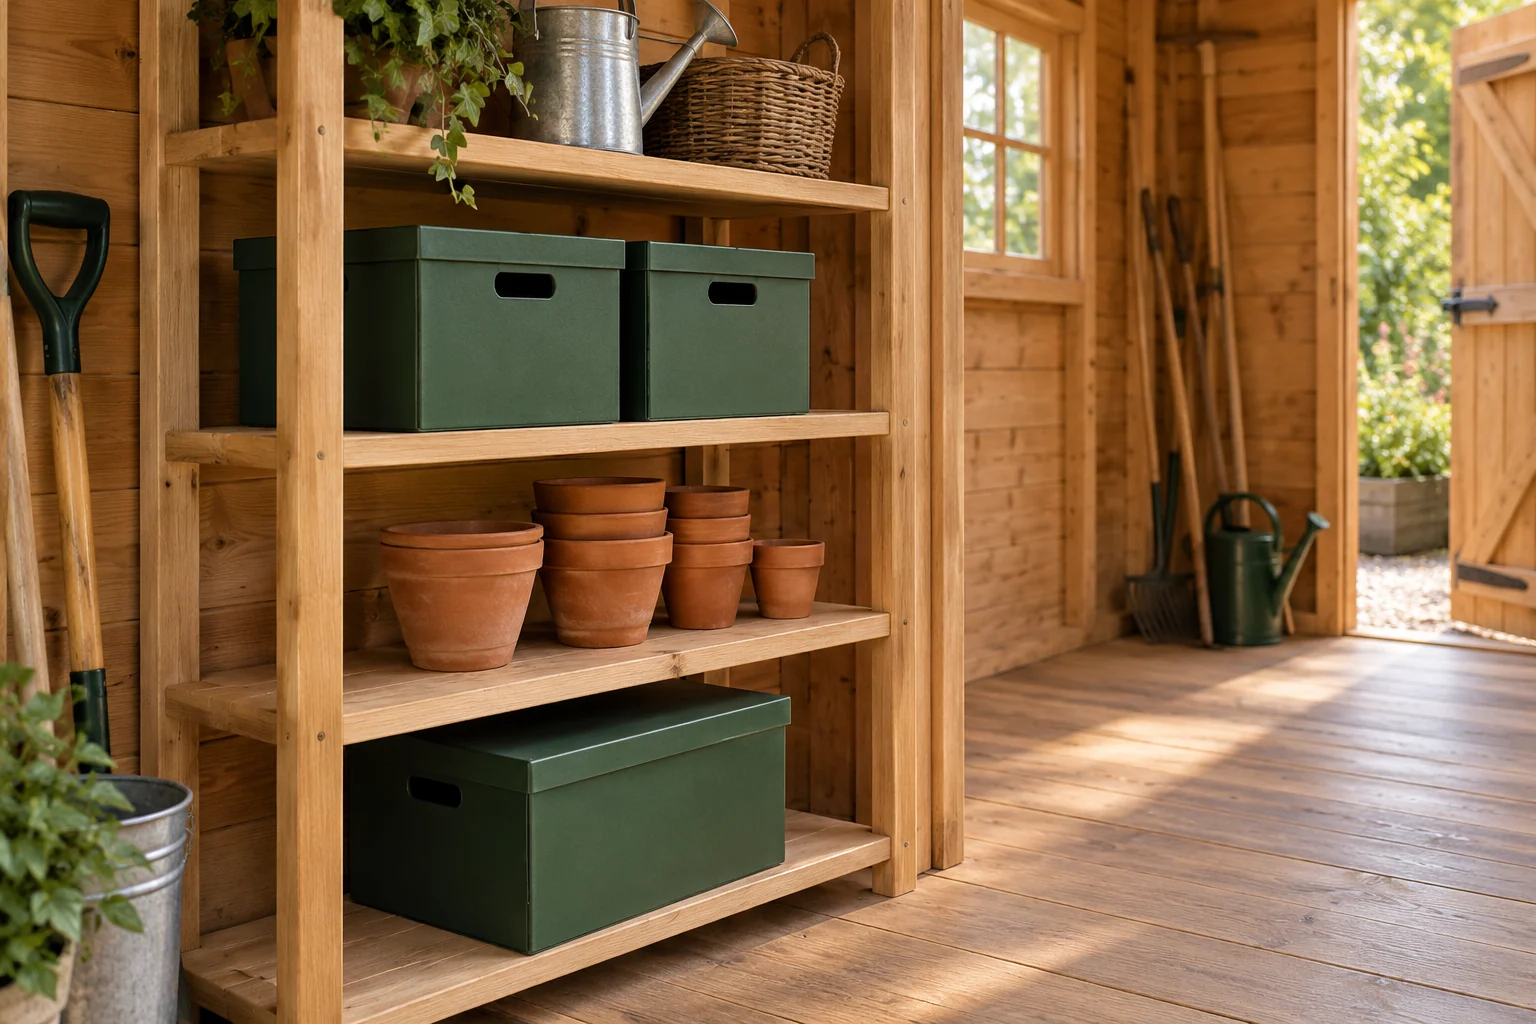
Measure the containers before choosing shelves. Include handles and the movement needed to lift a box clear. A deep shelf can hide a second row of supplies; if you must remove several boxes to reach the one behind, reconsider the grouping or shelf depth.
Keep contents within the shelf footprint and avoid precarious stacks. Group small supplies in clearly labelled containers, while keeping information needed to identify their contents. Place frequently handled items at a comfortable height. Consider both their weight and your ability to retrieve them without awkward reaching.
Check shelf condition, rated capacity and the manufacturer's requirements for stability or securing. CCOHS notes that stable storage depends on the materials, supporting surface, environmental exposure and storage-device guidance. A photograph cannot establish a shelf's load capacity. Source: CCOHS storage checklist.
5. Create a small everyday garden kit
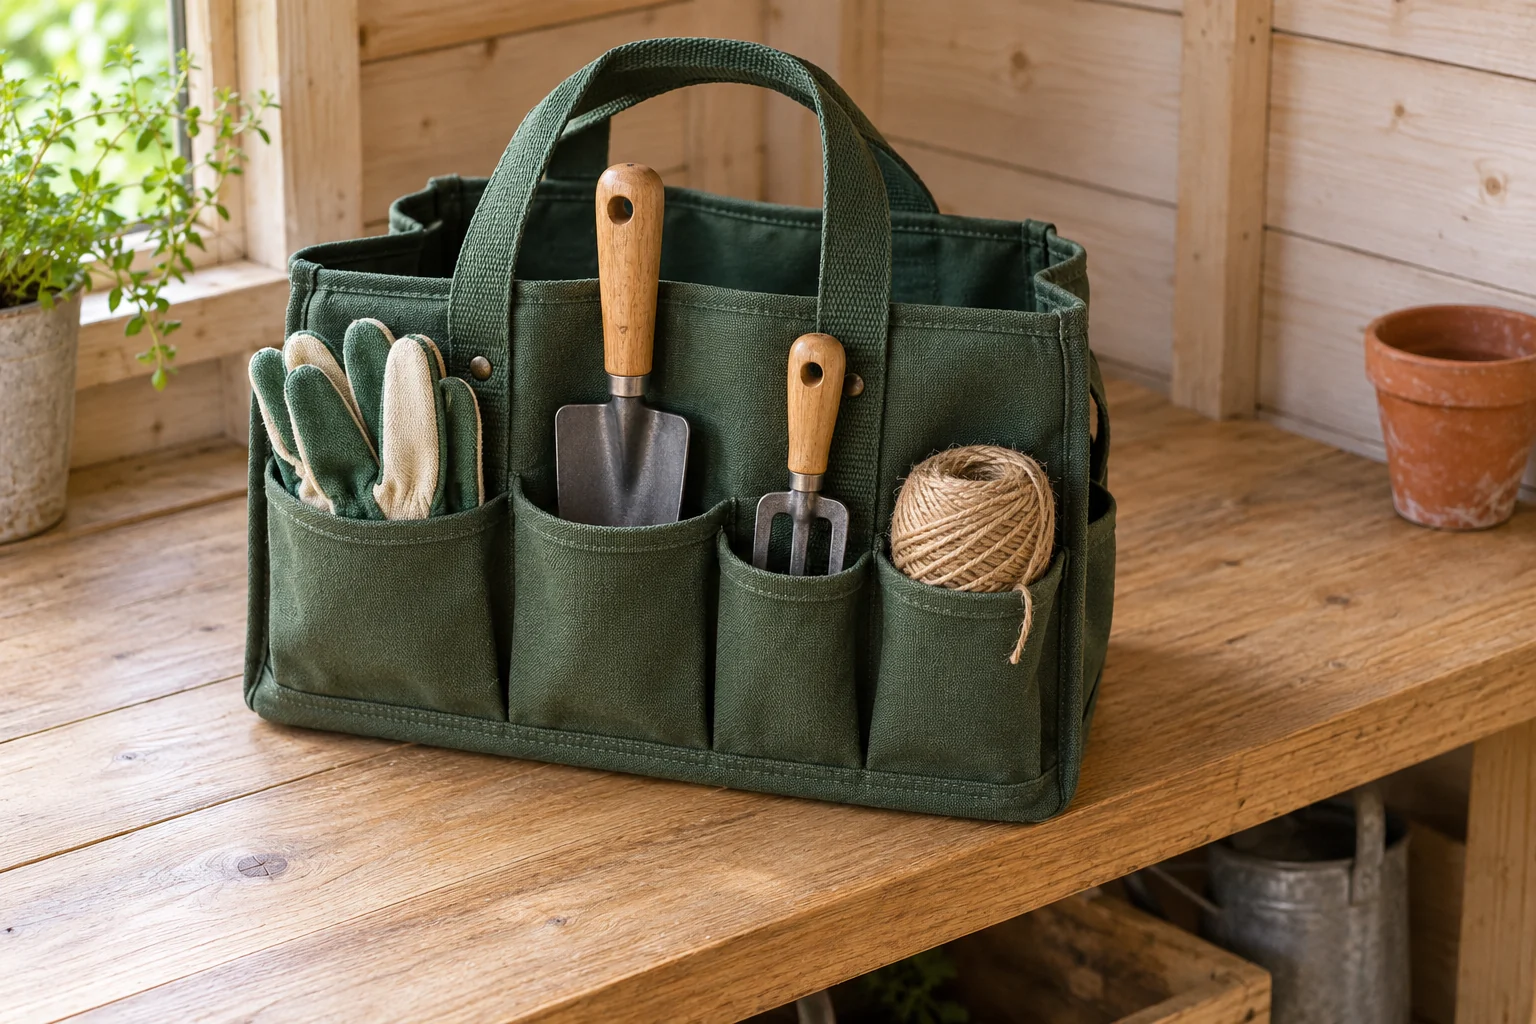
A portable tote can hold the few items used together: a trowel, hand fork, gloves and twine. Choose compartments that let you see and remove the contents without reaching blindly among sharp edges. Cutting tools need appropriate covers and storage as their manufacturer requires.
Leave a small landing space for the kit, rather than treating the entire potting surface as permanent storage. After a task, remove stray supplies and return the kit to its position. Keep dirty tools separate until they are ready to go back.
The RHS recommends brushing soil from hand tools; muddy tools may need washing and towel drying. Drying helps prevent rust and wood absorbing water. Keep a brush and towel conveniently available, and store tools clean and dry. Source: RHS cleaning hand tools.
6. Review the shed as the season changes
Move current-season items to convenient positions and review what is no longer being used. Leave a little flexible space for a new task rather than filling every shelf. If an item repeatedly ends up on the floor, check whether its assigned position is inconvenient or too small.
In Canada, an outdoor shed is not automatically suitable for every item through winter. Check each item's instructions for temperature, moisture and storage conditions. Batteries, fuels, chemicals and powered equipment need their own label or manufacturer guidance; this organizing layout does not establish safe conditions for them.
Finish each visit with a quick reset: clear the route, return tools and close containers appropriately. Revisit the arrangement when your equipment changes. Before ordering more storage, use our planning guide to test whether rearranging what you have solves the problem.
Your first shed zone: a practical checklist
Work on one zone first. These boxes help you review it during this visit; they do not save between visits.
Sources and scope
This guide combines an original organizing plan with the published CCOHS and RHS guidance linked above, reviewed October 5, 2026. It covers arranging belongings in an existing shed, rather than building design, permits or structural installation. Images are illustrative concepts, not tested products.