
Seasonal organization / Canadian winter planning
How to Store Snow Shovels and Winter Gear in a Small Garage
Keep the shovel you need easy to retrieve, give wet boots a defined landing spot and separate dry winter accessories from damp gear. A useful winter station protects the route through your garage.
Researched October 5, 2026 · Practical organization with Canadian sources · No product testing.
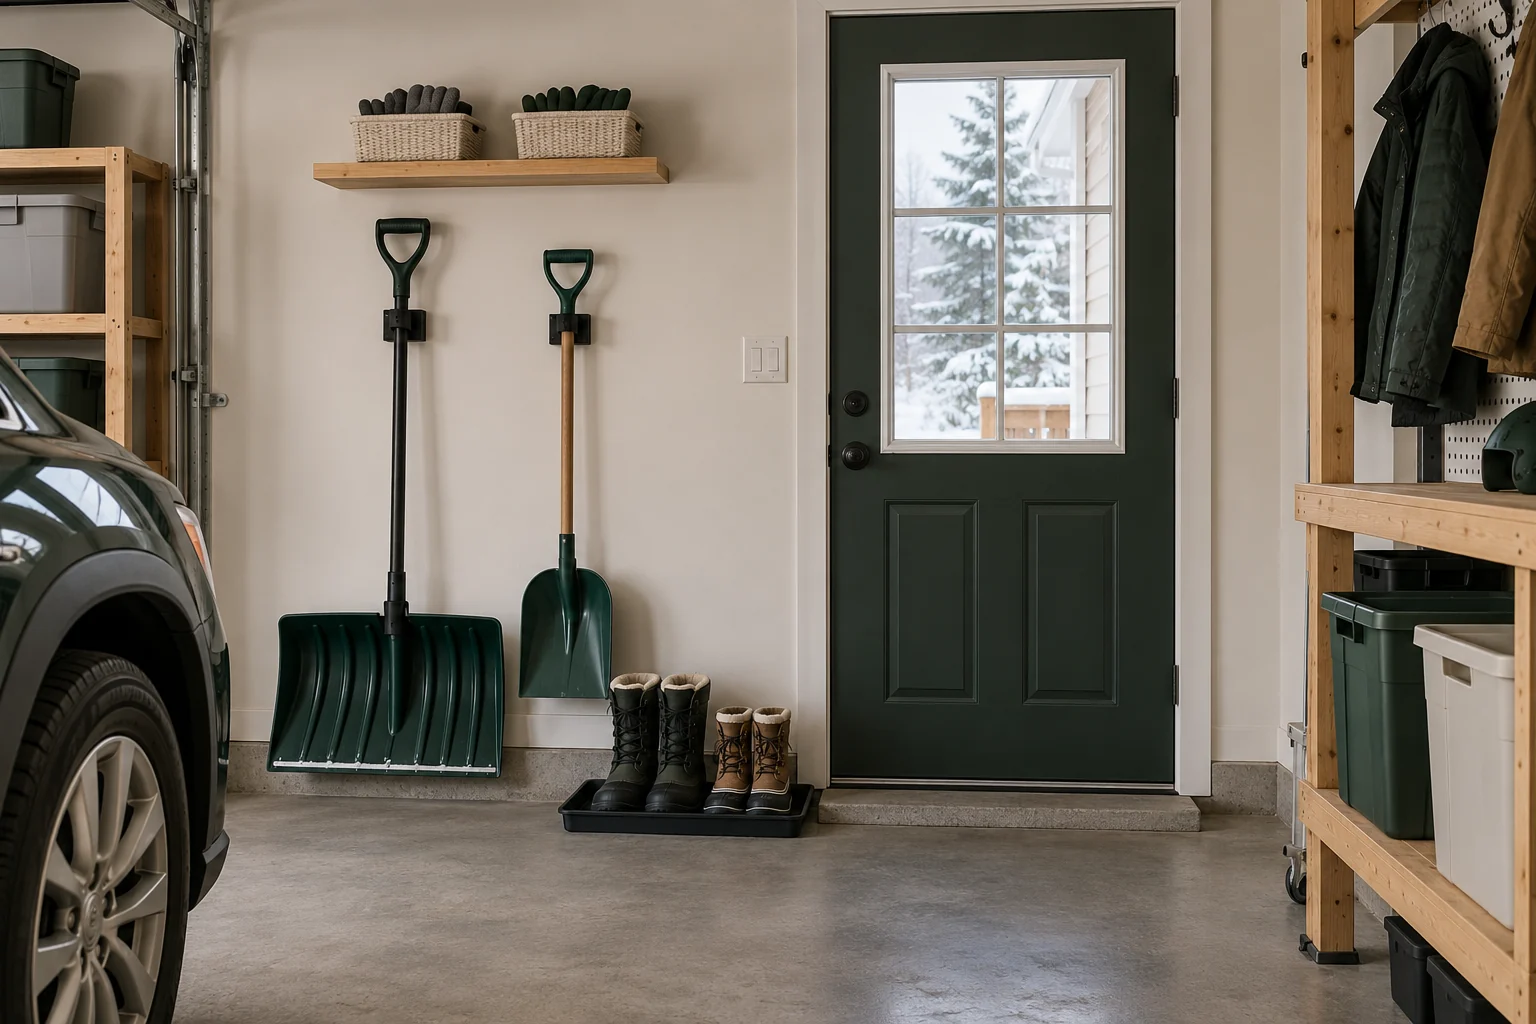
1. Choose the route before choosing the organizer
Start with the door you normally use to reach the driveway or walkway. Park the vehicle in its usual position, then open vehicle doors and the access door. Check where you stand to put on boots and where a shovel passes as you carry it outside. A storage station that fits against the wall may still obstruct the movement you need.
Measure the actual tools, including the width of a snow pusher's blade. Outline a proposed tray or shelf with cardboard and test the arrangement. Include room to release the shovel from its holder and turn with it. Move the outline if it catches a door, blocks a switch or leaves you squeezing past the car.
CCOHS recommends keeping aisles clear and floors free of slip and trip hazards. Apply those principles to the home layout: keep doorways, stairs and essential equipment access unobstructed, and clear water or debris promptly. Source: CCOHS housekeeping guidance.
This guide does not set a universal clearance measurement. Your door movement, belongings and users determine the space needed. If the station is difficult to use, start with fewer items rather than adding another storage unit. Our small garage guide helps you assess the shared space.
2. Give each snow shovel its own position
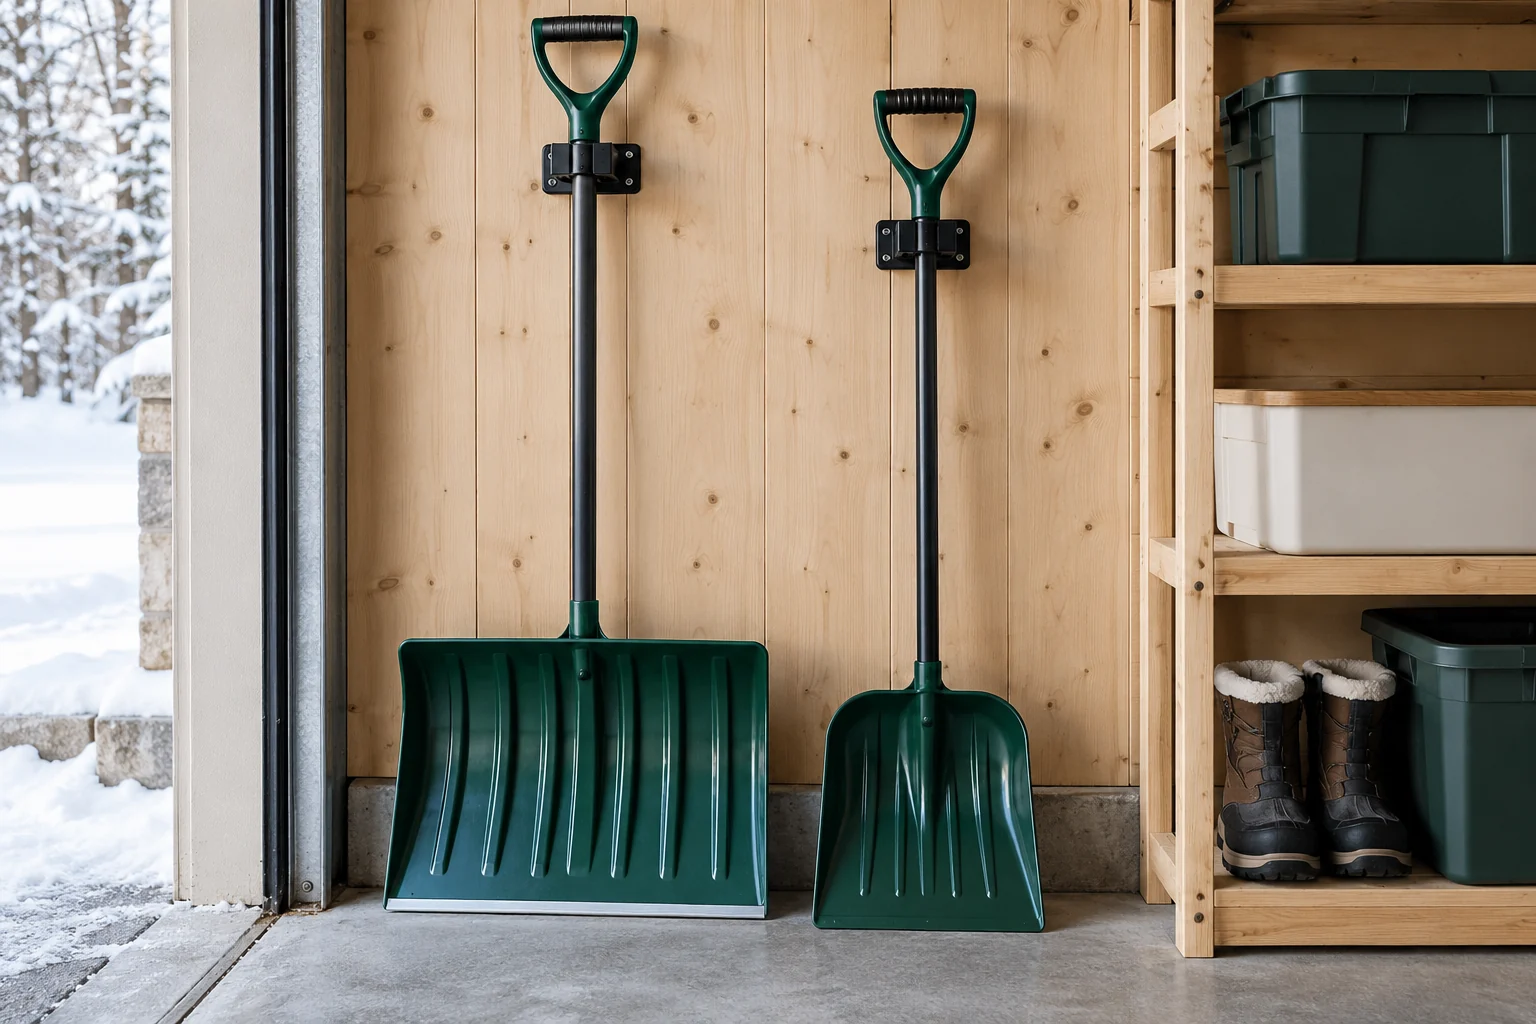
A broad pusher and a smaller scoop shovel need different footprints. Separate them so one blade does not trap the other. Test removing each tool independently; a hook arrangement that looks tidy is inconvenient if you must untangle handles every time.
Choose holders intended for the tool's size, shape and weight. Some grip a shaft; others support a handle or a different part of the tool. Follow the holder and tool manufacturers' guidance, including mounting requirements and load limits. Do not assume a general-purpose hook or thin wall panel will support the arrangement.
Keep blades and projecting parts close to the storage zone and away from the walking route. An appropriate freestanding rack may be an option where compatible wall storage is unsuitable, provided it is stable and fits outside the access space. Leaning several loose shovels behind a door makes retrieval harder and allows them to fall into the route.
Check handles, connections and blades before returning a tool to the ready-to-use group. Set damaged tools aside for appropriate repair or replacement. CCOHS advises inspecting hand tools, maintaining them and storing them clean and dry. Source: CCOHS hand-tool guidance. For storage-system choices, see our garage wall storage comparison.
3. Give wet boots a defined landing spot
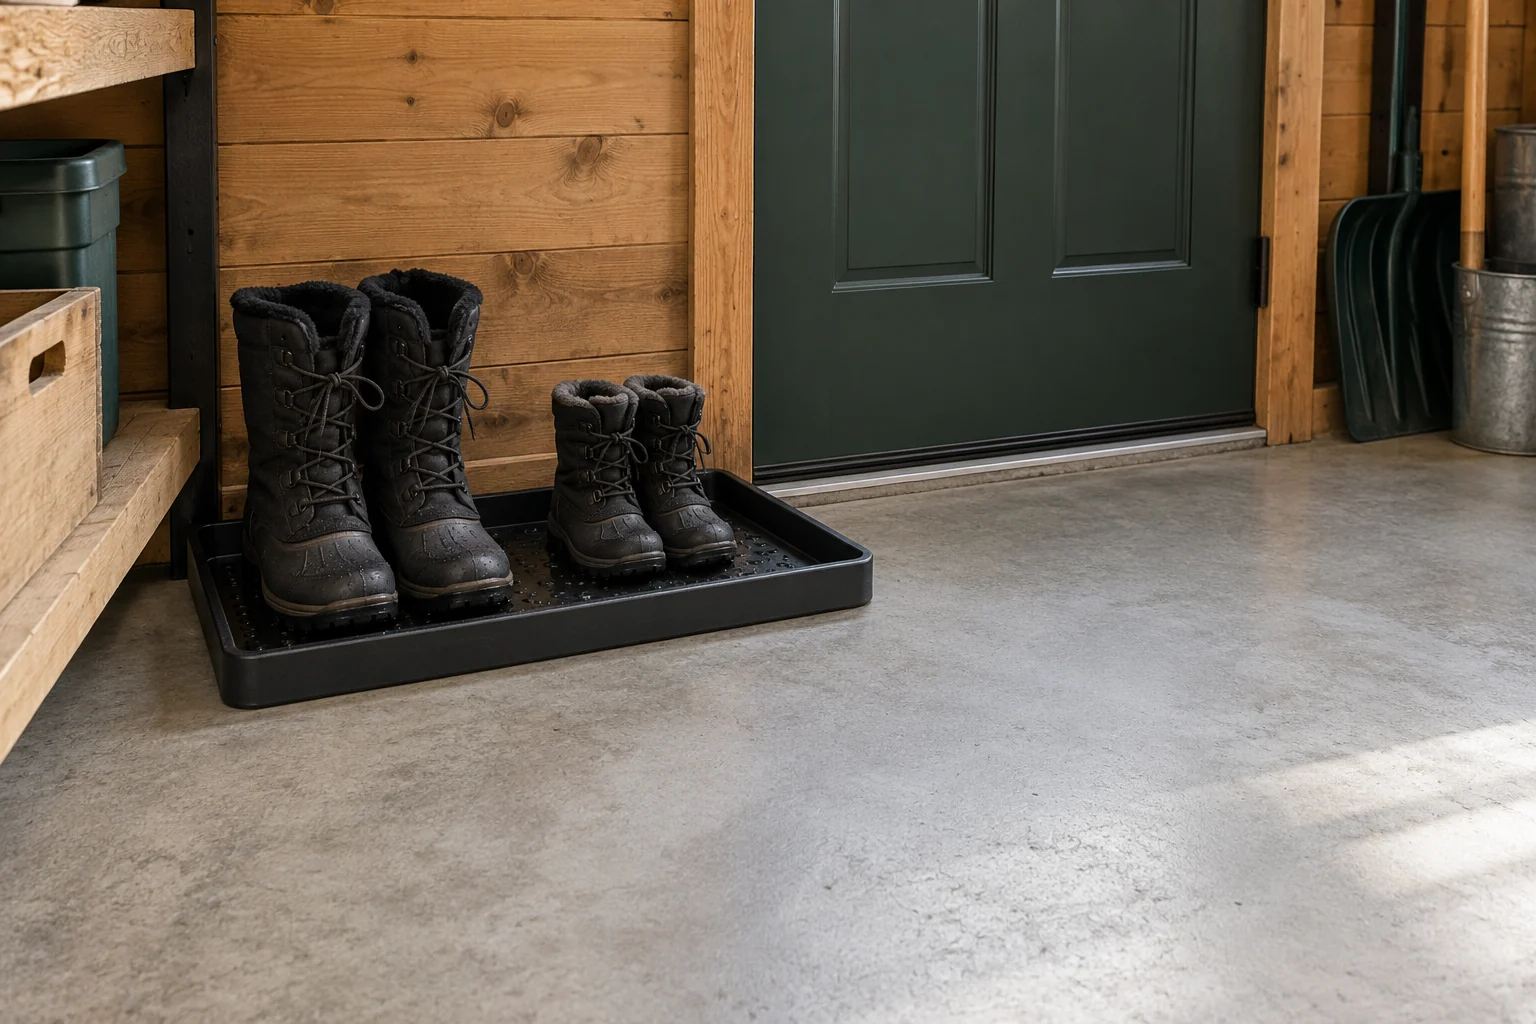
Place a tray where boots can be set down without blocking the door or forcing someone to step over them. Check the space with the actual pairs you expect to use. A tray that is too small encourages boots to spill onto the floor; one that is too large may take the space needed to turn or carry equipment.
Look for a raised edge, a surface suited to the floor and a shape that is easy to lift and clean. A tray does not make a wet floor safe automatically. Check for water outside it, movement underfoot and an edge that catches shoes. Clear tracked-in snow and moisture promptly rather than letting the tray become an overflowing collection point.
An unheated garage is not a guaranteed drying space. Follow footwear care instructions and move boots to a suitable drying location when necessary. Avoid adding improvised heating to solve a storage problem. Keep the tray for arrival and drip containment, then return dry footwear to its assigned position.
4. Separate dry accessories from damp gear
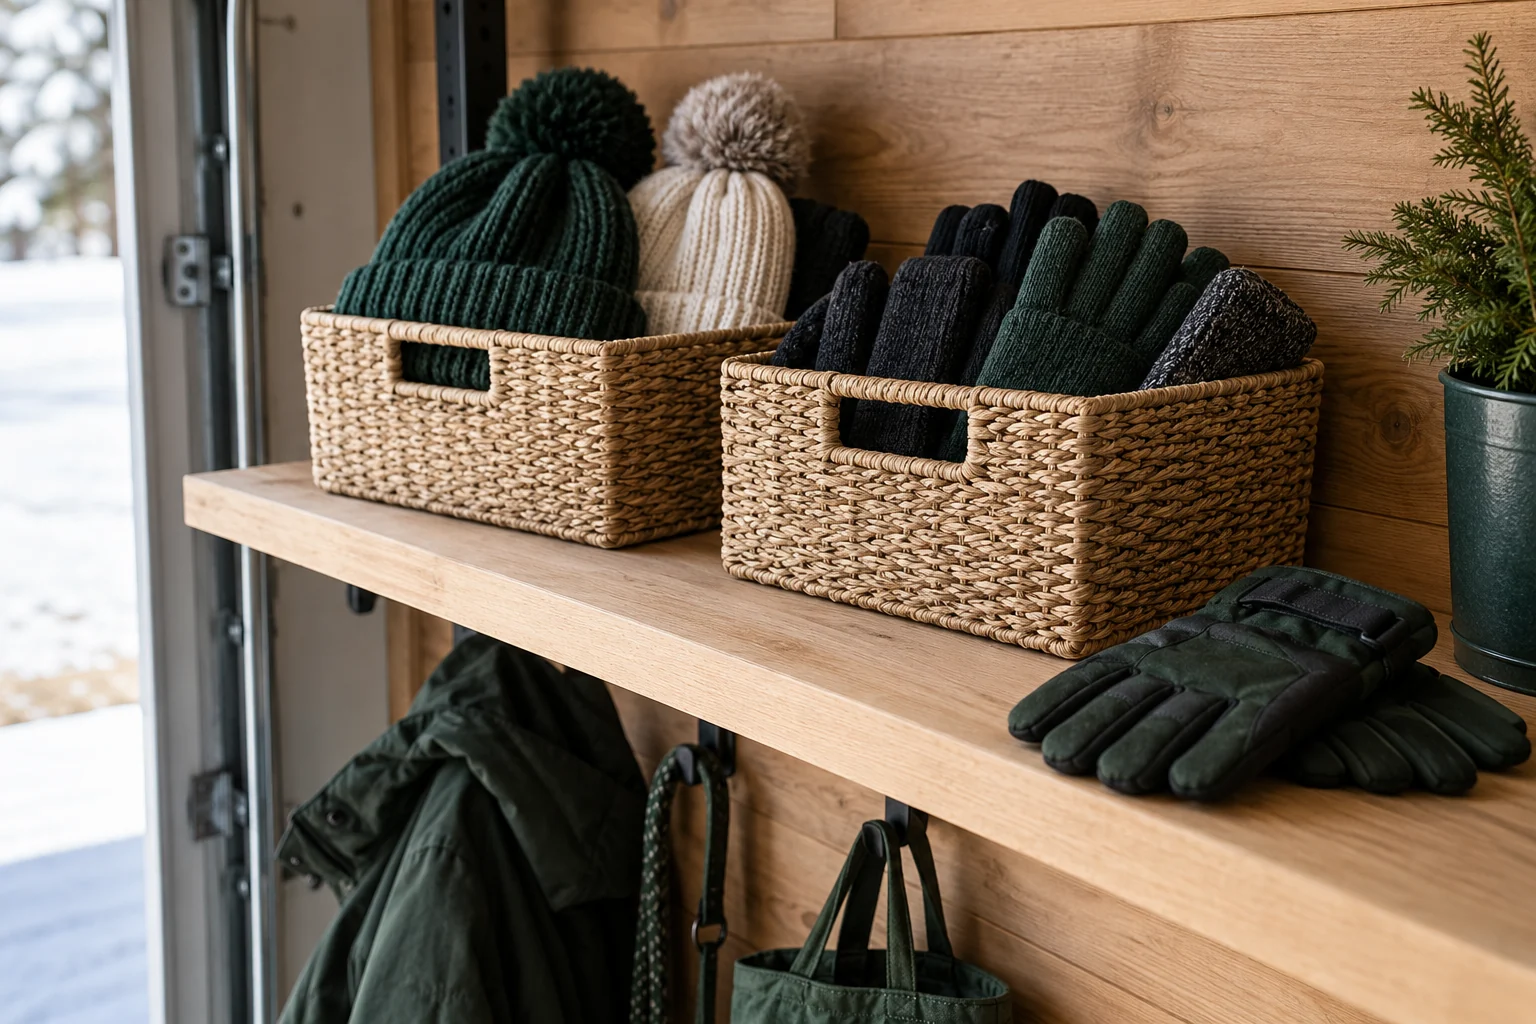
Use a small open basket for each person's dry gloves and hats, or group accessories by purpose if that is easier for your household. Label positions simply. Keep the daily set near the route while spare items occupy a less convenient shelf.
Do not pack damp gloves into the ready-to-use basket. Follow their care instructions for drying, then return them when ready. Before putting away the season's gear, check that it is clean and dry and that the storage conditions suit the materials.
Place accessories at a height the intended users can comfortably reach. CCOHS recommends considering all users when setting storage height and grouping frequently accessed materials. These are workplace storage principles adapted here for household planning. Source: CCOHS storage layouts.
| Item | Possible position | Check when returning |
|---|---|---|
| Snow shovel or pusher | Its own compatible holder | Condition, moisture and secure placement |
| Wet boots | Tray outside the walking route | Contained water and suitable drying conditions |
| Dry gloves and hats | Visible basket within comfortable reach | Dryness and complete pairs |
| Spare seasonal gear | Separate labelled storage | Material-specific storage instructions |
5. Make returning the station part of the task
After clearing snow, remove loose snow from the shovel and care for it according to its instructions. Give damp belongings appropriate drying time and conditions, then return them. Inspect the floor and tray before walking away so the next person finds a usable route.
If tools repeatedly land elsewhere, investigate the assigned position. Is the holder awkward to release with gloves? Does the blade catch a shelf? Is the basket beyond comfortable reach? Adjust the arrangement to the task rather than relying on everyone to work around a poor fit.
This station is for hand tools, footwear and accessories. Ice-melt products, batteries, fuels and powered equipment have separate label or manufacturer requirements; do not assume the same shelf or garage conditions suit them. Our snowblower storage guide covers planning for that larger piece of equipment, and the winter garage checklist covers the broader seasonal reset.
Your winter station checklist
Review one station at a time. These boxes work during this visit and do not save between visits.
Sources and scope
Published CCOHS guidance linked above was reviewed October 5, 2026. The layout suggestions are an original household organizing plan, not a tested product arrangement, structural installation guide or snow-clearing technique guide. Images are illustrative concepts.