
Workshop & Tools / Small parts
How to Organize Screws, Nuts and Small Hardware in Your Garage
Keep known fasteners easy to find, preserve the information on their packaging and give project-specific parts a separate home. A useful system prevents another mixed box.
Researched October 7, 2026 · Household workshop organization · No hands-on product testing.
1. Sort one container without losing its history
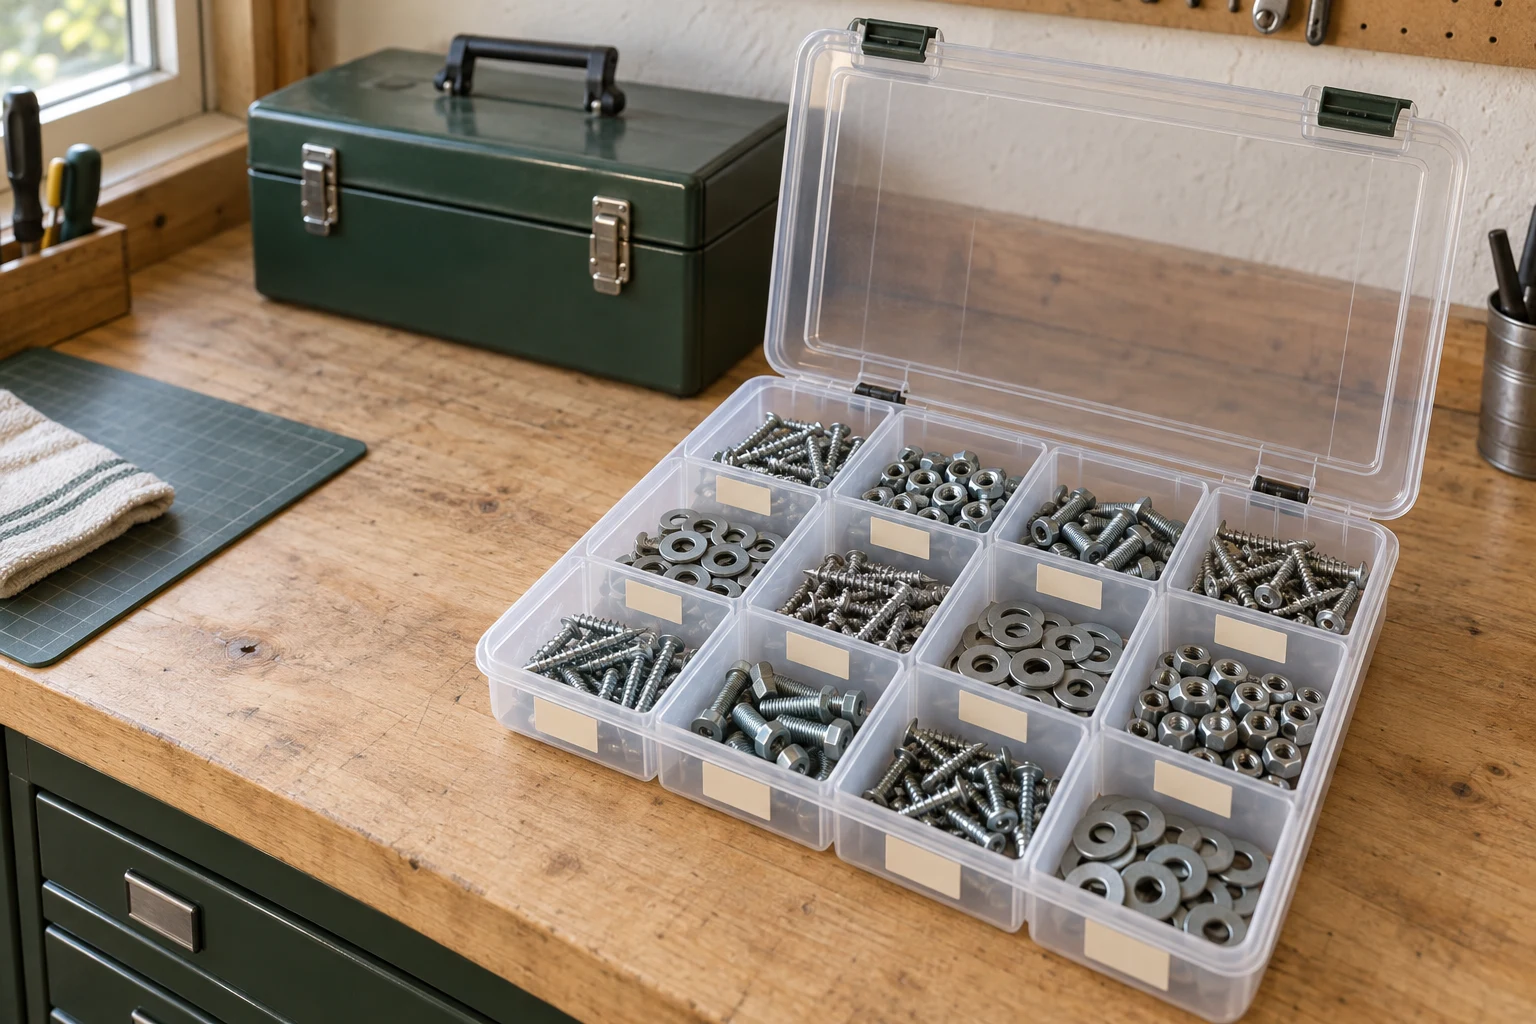
Begin with one drawer or box, not the entire garage. Place shallow sorting trays on a clear bench and empty small amounts at a time. Separate unopened or clearly labelled packets, identified loose parts, project-specific hardware and unknown pieces. Set damaged or corroded items aside for assessment rather than mixing them into the ready-to-use supply.
Group known items by type first: wood screws, machine screws or bolts, nuts, washers and other hardware. Then subdivide the types you regularly use by their confirmed specification. Keep metric and inch-labelled parts visibly separate. Two pieces that look similar may differ in thread, grade, coating or intended application.
An “unknown” group is a holding area, not a usable assortment. Identify those pieces from reliable specifications or with appropriate help before choosing them for a job. Do not force a nut onto a bolt to guess compatibility. This guide organizes information; it does not determine which fastener is suitable for a structural, automotive or other critical assembly.
2. Write labels that preserve the specification
Use the original packet as the starting point. Record type, size and units, thread information where relevant, material or finish, and grade or product reference when supplied. For anchors or proprietary connectors, keep the instructions and model reference together with the parts.
Bolt Depot's catalogue separates diameter, thread pitch or count, length, material, grade and head style. Its measurement notes also distinguish countersunk length from the under-head measurement used for most other fasteners. This explains why a label reading only “long screws” loses important information. Source: Bolt Depot fastener specification and measurement fields.
| Group | Example label | Keep with it |
|---|---|---|
| Metric machine screws | M6 × 1.0 × 20 mm — pan head | Material, grade and product reference from the packet |
| Inch-labelled wood screws | #8 × 1¼ in — wood screws | Head, drive, coating and intended-use information |
| Project hardware | Hall shelf — removed brackets — October 2026 | Photos, part positions and assembly instructions |
| Unidentified pieces | Unknown — identify before use | Any known origin; do not add guessed specifications |
These are label-format examples, not recommendations for a project or proof that loose pieces match. If a container holds several packets, keep their individual labels attached. Use readable print and a consistent location on the drawer or bin.
3. Match the organizer to where you work
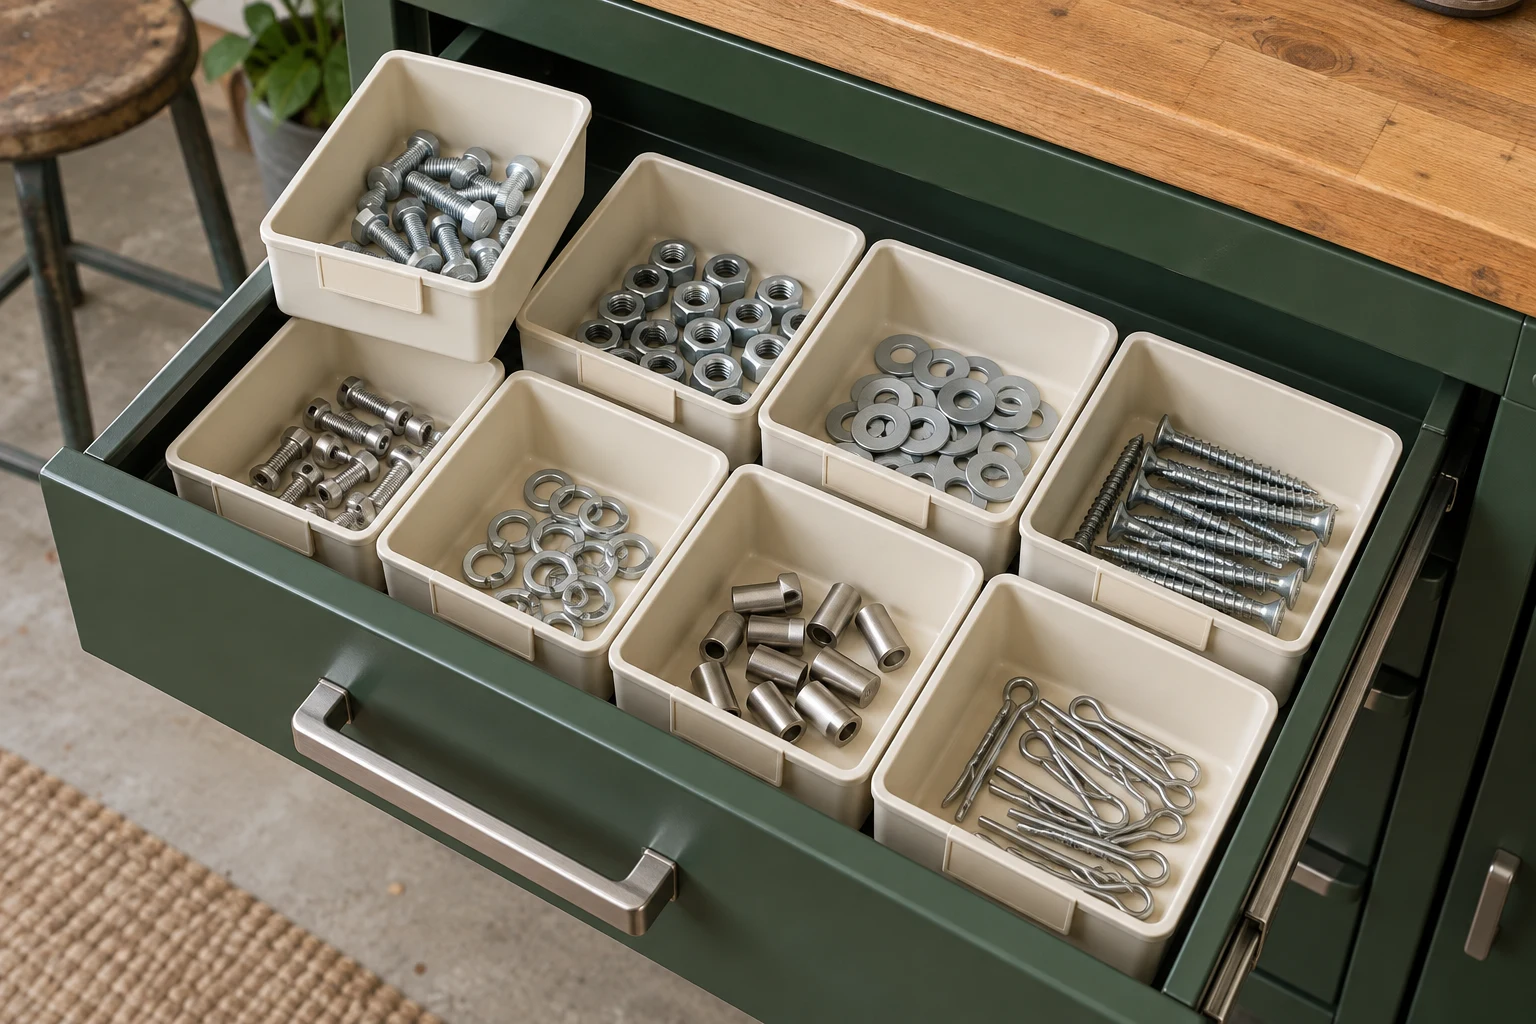
A shallow drawer with removable trays can suit parts used at the same bench. A portable compartment case can suit tasks elsewhere in the house. Small labelled bins can suit frequently replenished supplies. Choose the system around retrieval and return, not around the greatest advertised number of compartments.
Measure the largest pieces and the usable depth of each compartment. Check whether dividers fit securely and whether the closed lid keeps parts in their assigned spaces during normal carrying. Do not assume an organizer is spill-proof, watertight or suitable for wall mounting unless the exact product says so.
Test a modest load and close the case as instructed before carrying it. A large collection of metal hardware can become heavy. Keep loads within the organizer's limits and use a manageable container rather than filling every empty space. CCOHS recommends bin racks for small items and storage heights suited to the people accessing them; those workplace principles inform our household layout suggestions. Source: CCOHS storage layouts.
Keep pointed pieces contained and away from children. Avoid blindly reaching into a mixed pile. Give the organizer a dry location suited to its contents and follow the fastener supplier's storage guidance. Our shelves and cabinets comparison helps you plan the larger storage zone.
4. Keep removed project hardware separate
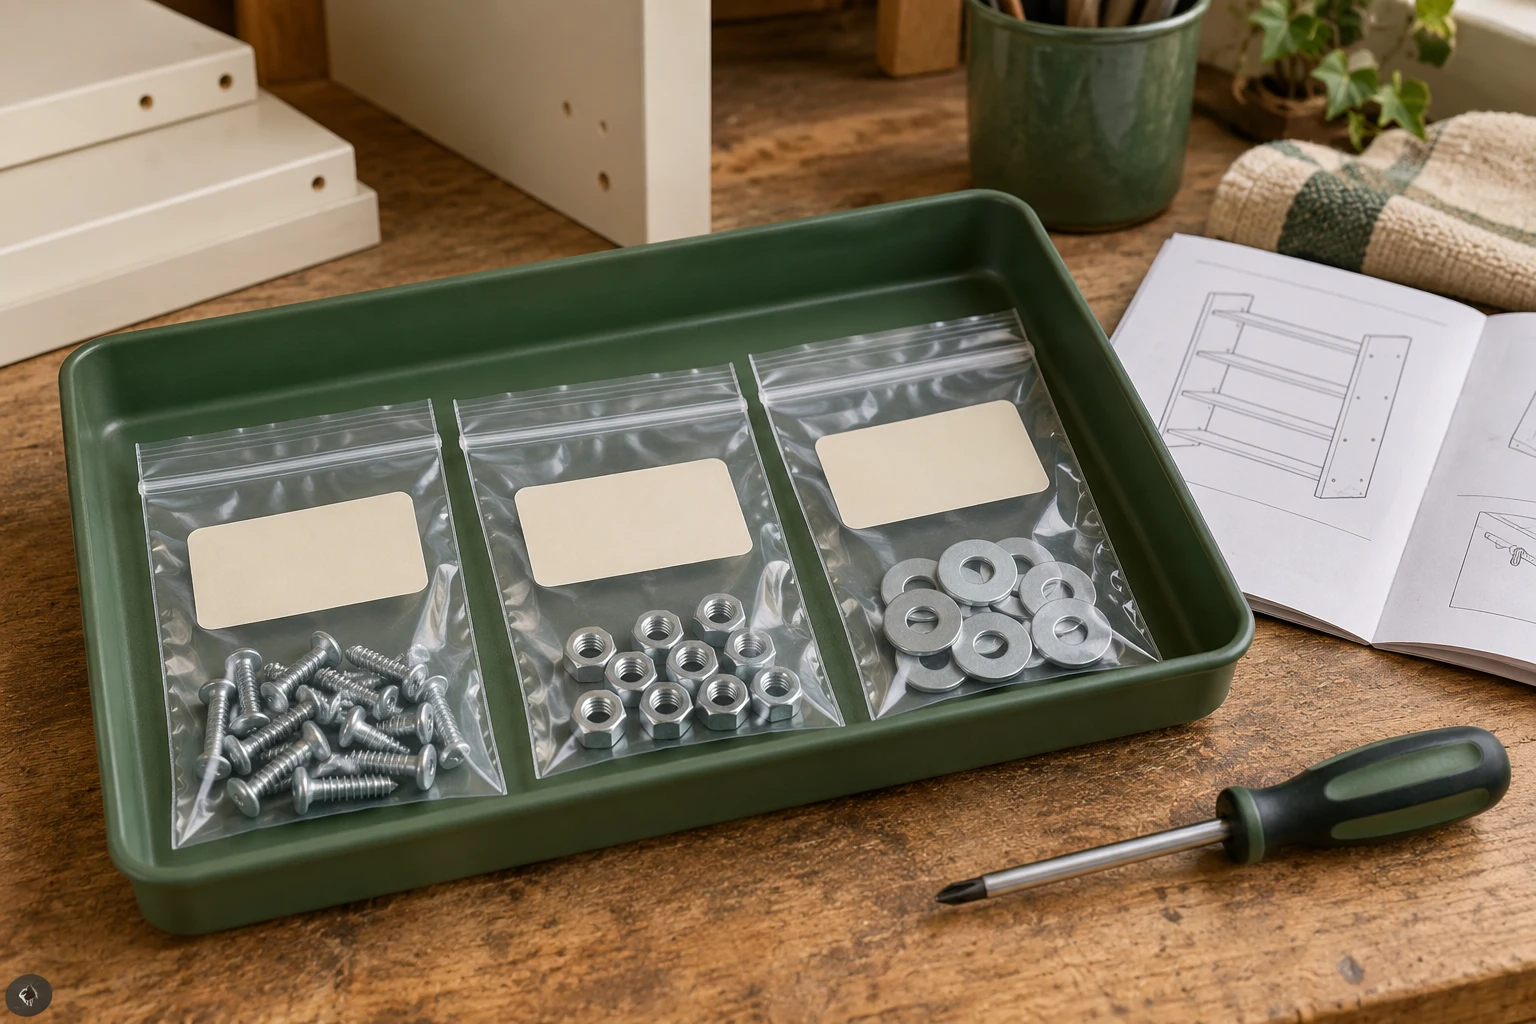
When taking apart furniture or another household item, put each set of removed parts in a suitable labelled bag or small container. Record the project, date and the position from which the parts came. Photograph their original arrangement when useful and keep the assembly instructions with the project.
Use separate bags inside one project tray when different assemblies contain similar screws. Do not send them to general stock merely because they resemble the pieces there. A missing washer or different screw length can matter during reassembly.
Close containers before moving them. Keep sharp points from puncturing bags, using a more suitable rigid container where needed. If parts are missing or damaged, follow the original manufacturer's replacement guidance rather than substituting from the unknown group.
5. Make the return step easier than the mixed box
Take one removable tray or a small selected quantity to the task. Keep unused known parts separate from removed or unidentified hardware. Return each group only after confirming its identity. If you cannot identify an item confidently, place it in the holding container rather than contaminating a labelled supply.
Keep a short restock list for the supplies you actually use. Check the organizer before buying another assortment; a packet of the required specification may be more useful than hundreds of unfamiliar pieces. Compare the organizer's full cost, including extra trays or dividers, delivery and taxes, using current seller information.
If a drawer repeatedly becomes mixed, simplify it. Combine rarely used packets into a labelled backup zone while leaving daily groups easy to find. Our small workshop guide covers the surrounding bench and task layout.
Your small-hardware checklist
Selections work during this visit and are not saved between visits.
Sources and scope
Bolt Depot's catalogue and CCOHS storage-layout guidance were reviewed October 7, 2026. Sorting, label formats and return routines are original household organizing suggestions. The photographs are illustrative and must not be used to identify a fastener or select a rated product. This guide does not specify fastener suitability, structural design or installation.