
Garage & Storage / Everyday access
Bike Storage in a Small Garage: Floor Stands vs Wall Racks
Choose a bike position you can use with the car parked. Compare floor stands, horizontal wall hangers and vertical racks by fit, handling and the space needed to get moving.
Researched October 6, 2026 · Canadian garage planning · Published manufacturer guidance; no hands-on product testing.
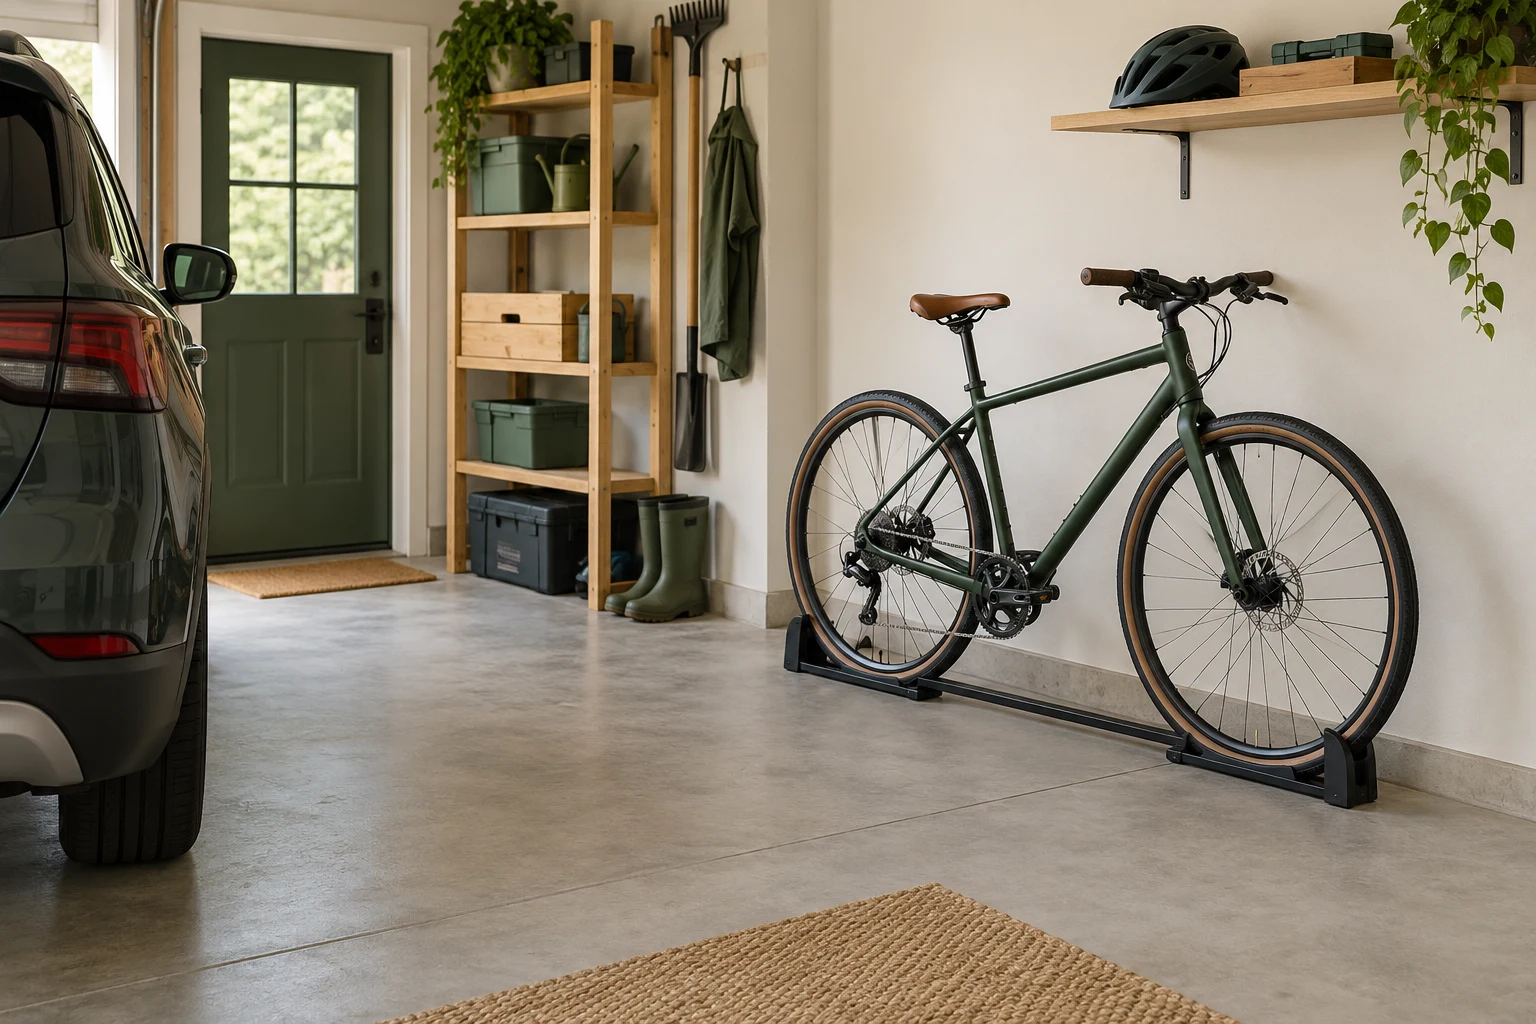
1. Compare handling before comparing appearances
The useful choice depends on who rides, how often the bike leaves the garage and whether lifting or tilting it is manageable. A daily bicycle deserves a position that is easy to use. An arrangement that requires moving the car or another bicycle every morning may not suit that routine.
| Approach | Possible advantage | What to check |
|---|---|---|
| Floor-level stand | Some designs allow roll-in parking without lifting the whole bike | Tyre fit, stability, rack base and the full bicycle footprint |
| Horizontal wall hanger | Raises the wheels while keeping the bicycle parallel to the wall | Frame contact, lifting height, handlebar projection and wall support |
| Vertical wall rack | Uses a different wall shape; some models pivot | Tyre and wheel compatibility, tilt or lift required, projection and pivot space |
A wall rack does not automatically leave a usable walkway. The handlebars, pedals and rack can still project into it. Similarly, a floor stand's base may be wider than expected. Compare the bike in its stored position and while it is being removed.
2. Start with a floor stand when handling matters most
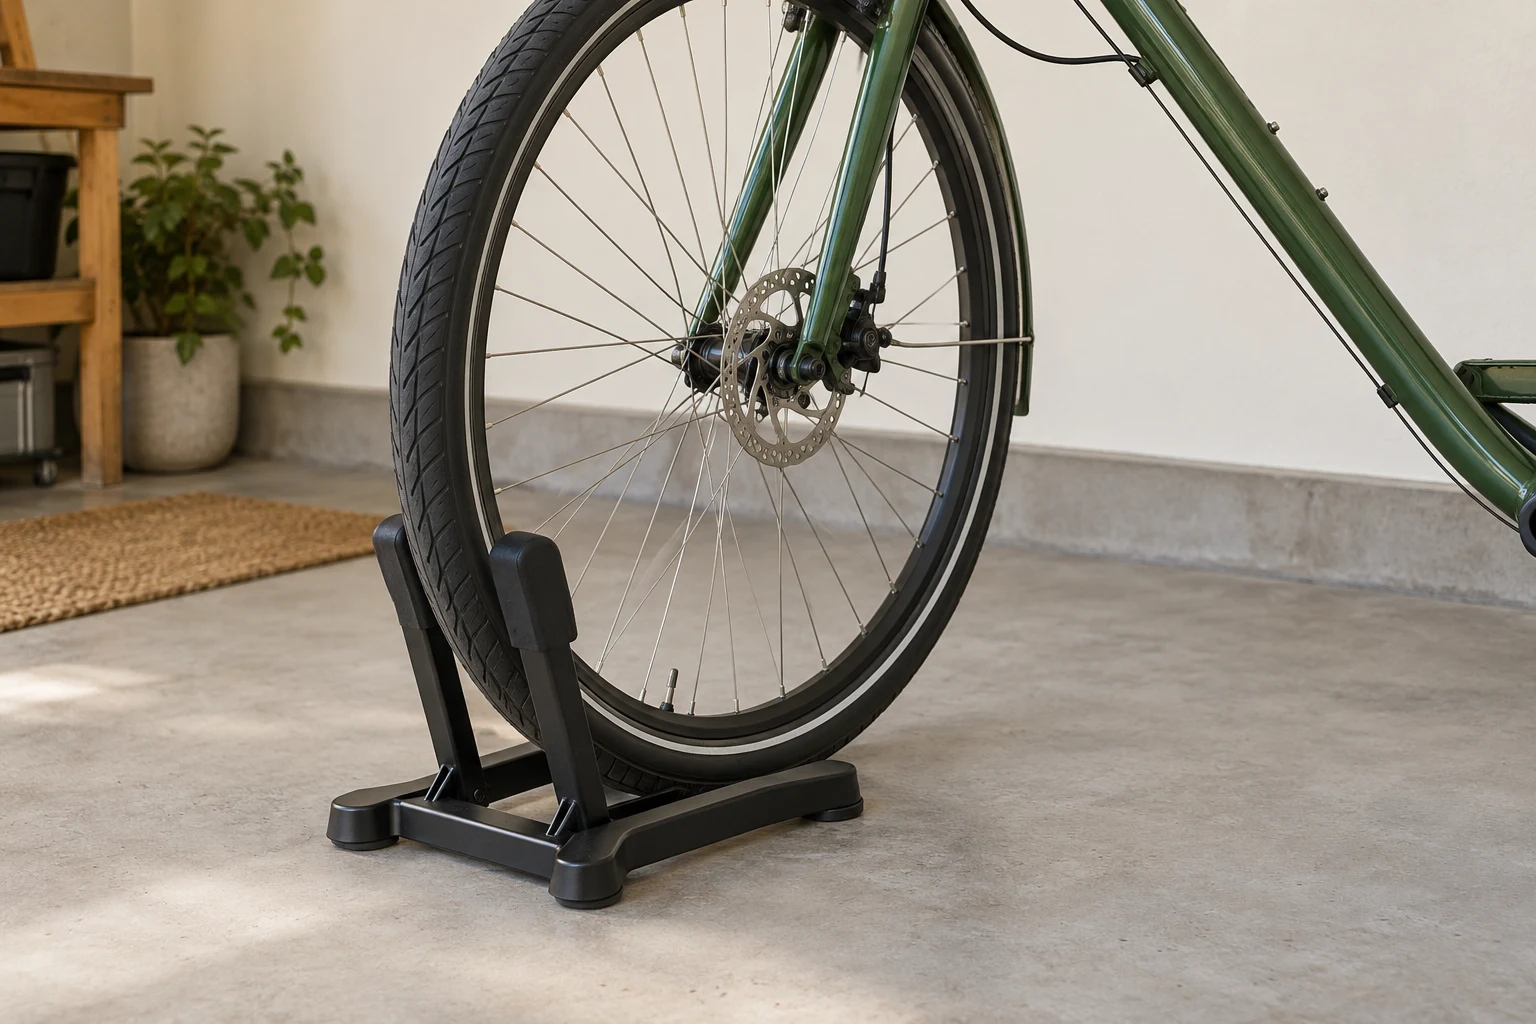
A compatible floor stand is a useful starting option if you want straightforward parking and have enough floor area. Look at how the rack engages the wheel and whether it suits the bike's tyre, mudguards and brakes. Do not force the bike into a stand that interferes with spokes, a brake rotor or the drivetrain.
Try the intended parking position with the bike you own. Can you roll it in without catching the pedal on a shelf? Can you grip the handlebars when another bike is nearby? Is the base outside the walking route? Choose a stable setup that follows the rack's instructions rather than relying on the bicycle leaning against the car.
Not every freestanding system keeps both wheels on the floor. A tall multi-bike stand may require lifting and may have separate capacity and support requirements. Topeak's Dual-Touch page, for example, lists a per-hook capacity and provides a user guide. Treat those as model-specific requirements, not specifications for the floor cradles pictured here. Source: Topeak Dual-Touch specifications and manual.
3. Distinguish horizontal hangers from vertical racks
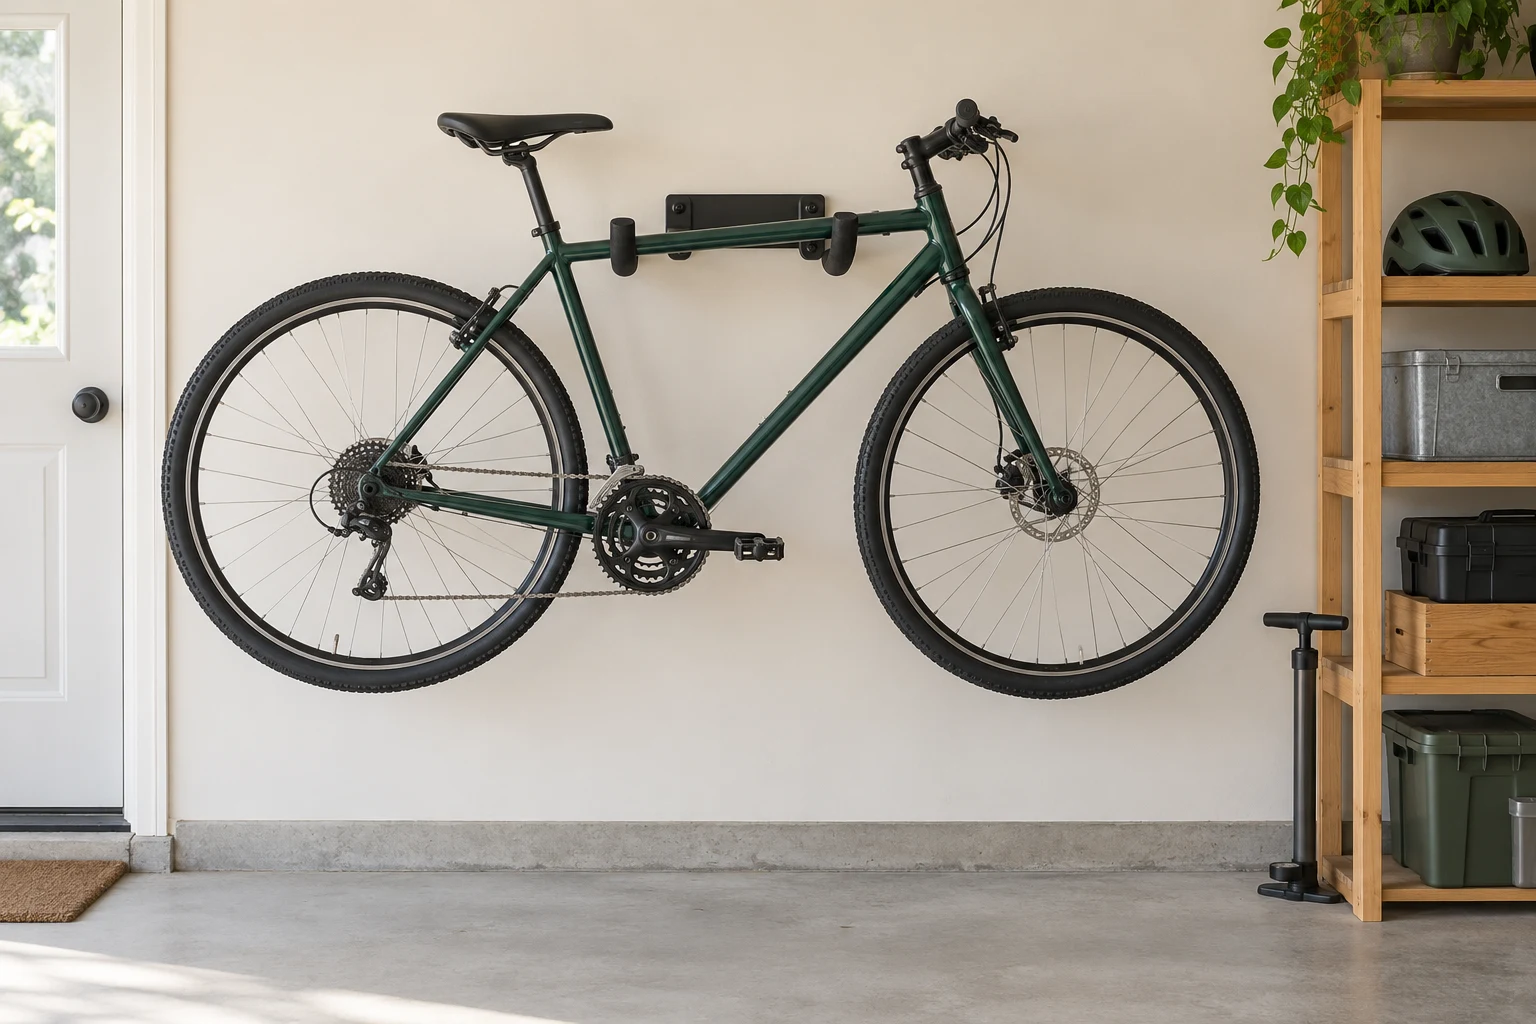
A horizontal hanger usually occupies a long section of wall. Depending on its design, it may support the frame at padded contact points. Check whether the manufacturer permits contact with your frame shape and material. Step-through frames, unusual top tubes and accessories may need a different solution. Do not assume an adapter is appropriate without checking its instructions.
A vertical rack changes the bike's orientation. Some support the wheel; some require more lifting than others, and certain models allow the bike to pivot sideways. Check the motion as well as the stored position. A pivoting bike still needs room to move without hitting shelves, the vehicle or another bicycle.
Use the exact rack manual to determine wall suitability, mounting and spacing. Our photographs do not show or specify anchors, loads or installation heights. If you cannot verify the supporting wall or the required installation, resolve that before choosing a wall-mounted unit.
4. Make a compatibility card for each bicycle
Write down the bike's actual weight, including accessories that stay attached; wheel diameter; tyre width; frame shape; and any mudguards, racks or unusual clearance. Use the bike and rack manufacturers' specifications rather than guessing from the label “road” or “mountain.” If several people use the garage, assess each bike separately.
Steadyrack's Canadian selection guide shows why this matters: its rack choice depends on wheel diameter, tyre width and mudguard clearance, with additional checks for narrow spaces around the wheel. These are compatibility considerations for its ranges, not proof that every wheel rack accepts the same bicycles. Source: Steadyrack rack-selection guide.
A heavier e-bike also changes the handling task. Check the exact rack's capacity and whether the rider can safely perform the required motion. Battery storage and charging have separate manufacturer requirements; this organizing guide does not provide charging or battery-care instructions.
5. Measure the route with the car parked
Park normally, open the doors you use and move the actual bike through the proposed route without installing anything. Note the handlebar width, pedal projection and turning space near the exit. Include the space needed to stand and release the bicycle from the rack. Avoid assuming that a measurement taken with the garage empty represents daily use.
Illustrative planning example: if handlebars are 70 cm wide, a 65 cm straight gap does not accommodate them in that orientation. Turning the bike changes its footprint and needs to be tested. These are invented dimensions illustrating the check; they are not a prescribed walkway width.
For two bicycles, try retrieving each independently. Different handlebar and saddle heights can sometimes help an arrangement, but rack spacing must follow the exact system's guide. Do not set universal spacing from a photograph.
CCOHS storage-layout guidance calls for access space that suits the people and equipment using it. We adapt that principle here to a household route, without assigning a universal garage clearance. Source: CCOHS storage layouts. See our small garage guide for the wider layout.
Keep the helmet, lock and pump near the bike without creating another obstruction. In winter, follow the bicycle manufacturer's cleaning and storage advice and clear tracked-in moisture from the route. Check the condition of the rack and its contact points periodically as its instructions require.
Before ordering, compare the complete cost: rack, any approved adapters, required installation, delivery and taxes. Check Canadian availability and the current price on the seller's page. We compare storage approaches here; we have not tested or ranked products.
Your bike-storage checklist
These boxes work during this visit and are not saved between visits.
Sources and scope
The linked Steadyrack Canadian selection guide, Topeak product page and CCOHS guidance were reviewed October 6, 2026. Route-testing exercises are original household planning suggestions. Images show generic concepts, not the named manufacturers' products. This is not a structural installation, bicycle repair, battery-care or product-testing guide.